www.magazine-industry-usa.com
08
'13
Written on Modified on
Watchmaker La Pierrette SA uses Keyence to optimise its metrological inspection processes.
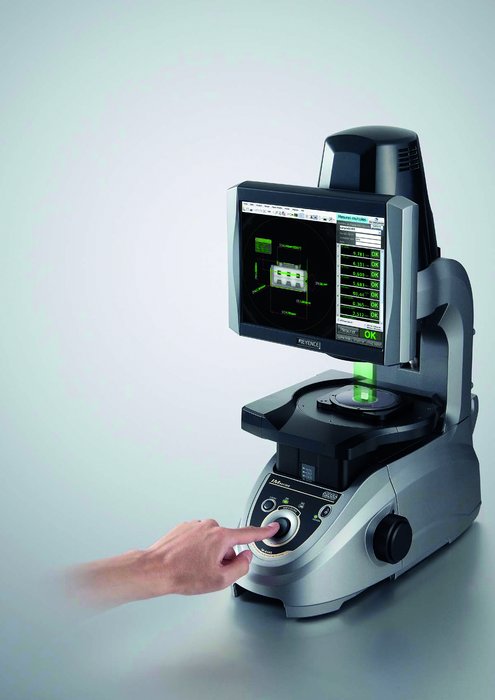
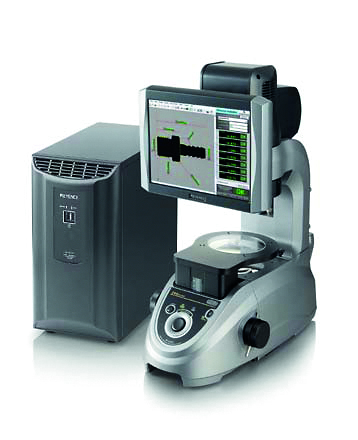
The renowned jewel-bearing specialist uses Keyence's IM Series image dimension measurement system to improve the repeatability and rate of its tests.


"The manufacturing of jewel bearings is a complex process because diamond is the only mineral harder than the gems that we cut. As a result, diamond machining is the only possibility, which makes for very tight manufacturing tolerances. Depending on the target characteristics, the tolerance intervals are between 2 and 8 µ, meaning that production is possible only with specially engineered machines. All this also requires many metrology operations," explains Romain Conti of La Pierrette's R&D department.
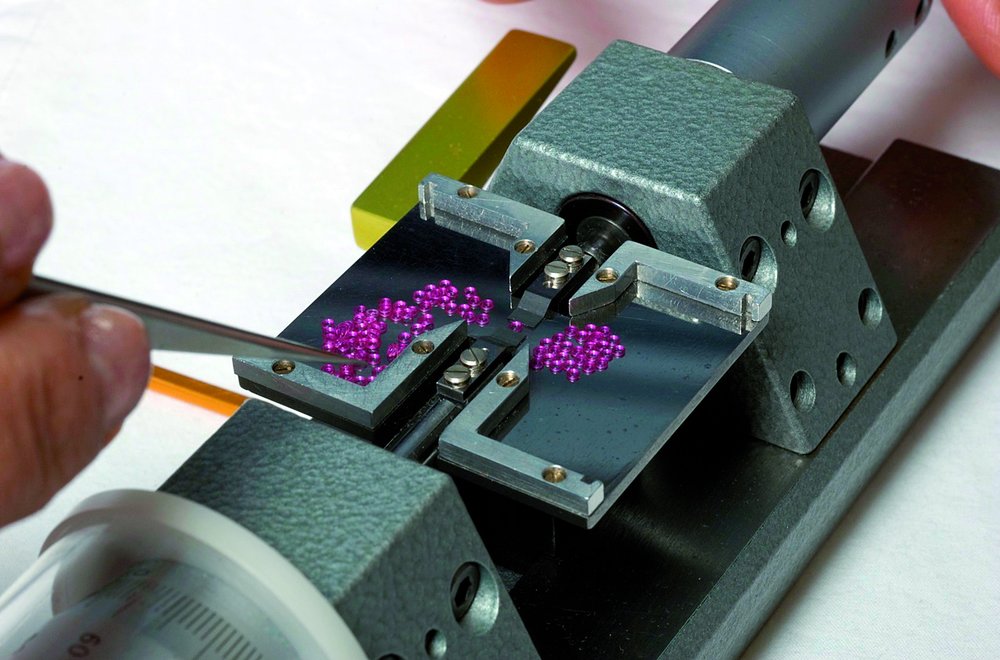
"Before, we performed all our inspections using manually operated stands. Because many dimensions have to be characterised repeatedly on each bearing, this process was long. With the IM Series, this process is much more automated and faster. Not only can we inspect a series of pieces at the same time, but our measurements are more complete because we can now also check for flaws in shape."

"The system is really easy to set up and it was up and running in virtually no time. We decided to put it through a probationary period in order to qualify the measurements obtained with it and make sure that they met our accuracy requirements. We "empowered" the system with the measurements we had obtained with our manually operated stands and calibrated gemstones qualified by METAS, the Swiss national metrology institute. That enabled us to optimise some settings. Nonetheless, and very quickly after putting the IM Series into actual service, we saw that it made the inspection process five times faster," adds Mr Conti.
This time saving is essential at La Pierrette SA, which turns out several million pieces each year. "We have to inspect every visible piece both in terms of conformity and appearance. However, our production volume allows us to inspect only a small fraction of the other pieces. The IM Series enables us to increase the number of inspections and thus improve the quality of our products. That, coupled with the fact that the IM Series allows us to directly view measurement statistics, helps us to identify production deviations much faster," explains Mr Conti.
"The IM Series was an immediate success with the members of our inspection department and is used regularly by 5 or 6 people," says Mr Conti. The IM Series image dimension measurement system makes it possible to obtain high-accuracy, reliable measurements in a minimum of time. Simply place a target on the stage and press the button. Up to 99 points are measured in a matter of seconds with a high degree of accuracy. Its automatic operation and repeatability of ± 1 µm eliminate inter-operator variability problems.
"What's more, it eliminates repeatability problems inherent to our measurement stands, such as button wear and stage alignment," says Mr Conti.


http://www.keyence.co.uk/PRIM6

