www.magazine-industry-usa.com
19
'13
Written on Modified on
Measuring profiles for Faurecia Interior Systems
By using Keyence’s LJ-G sensor, the Automotive Equipment Manufacturer has automated its inspection of airbag deployment slits in vehicle dashboards. This resulted in stable measurements and a fast return on investment.

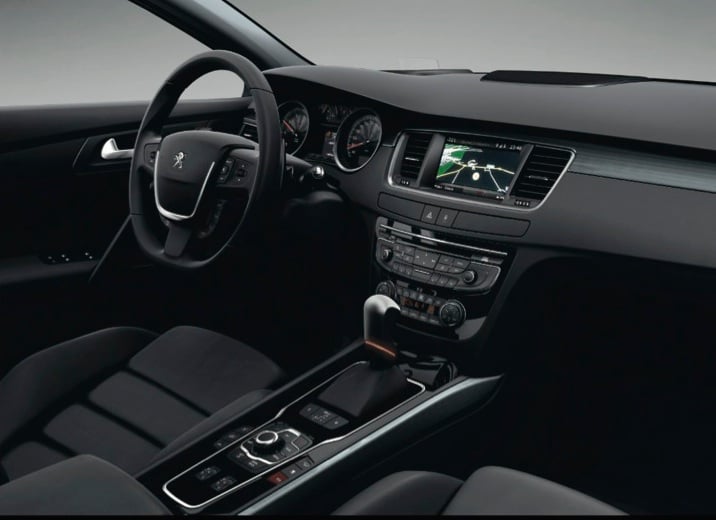
A Peugeot 508 dashboard.
The Faurecia Group is recognised for its expertise in the design, development, manufacturing and supply of OEM parts. With 320 sites in 34 countries, including 30 major R&D centers, Faurecia is a world leader in each of its four business segments – Automotive Seating (worldwide leader in seat frames and mechanisms), Interior Systems (worldwide leader), Emission Control Technologies (worldwide leader) and Automotive Exteriors (European leader).
An inspection station designed by Faurecia Interior Systems’ R&D center in Méru, France, is used at their interior systems plant.
Inspections for passenger safety .
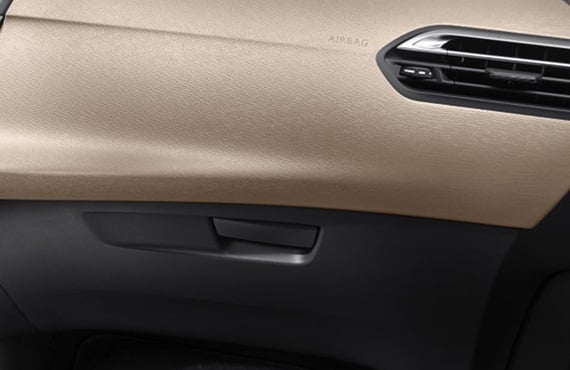
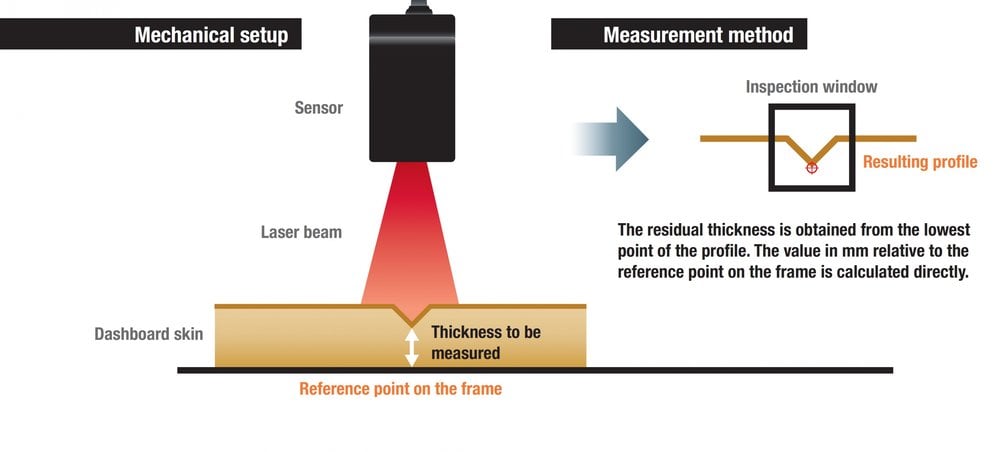
Dashboard skins have tiny slits that enable an airbag to deploy in the event of a crash. If incorrectly made, these slits can prevent an airbag from properly deploying and compromise passenger safety. Using laser triangulation, each dashboard slit is scanned and converted into an 800-point profile to determine its residual thickness, i.e. the skin thickness at the slit’s deepest point.
The residual thickness is obtained from the lowest point of the profile. The value in mm relative to the reference point on the frame is calculated directly.
“We used to perform these measurements manually with a microscope. Not only was it long, but it required destroying the parts being measured. We therefore decided we needed a contactless measurement solution that was easy to integrate and offered repeatability,” explains Lionel Marlier, Responsible for Safety Regulation at Faurecia Interior Systems.
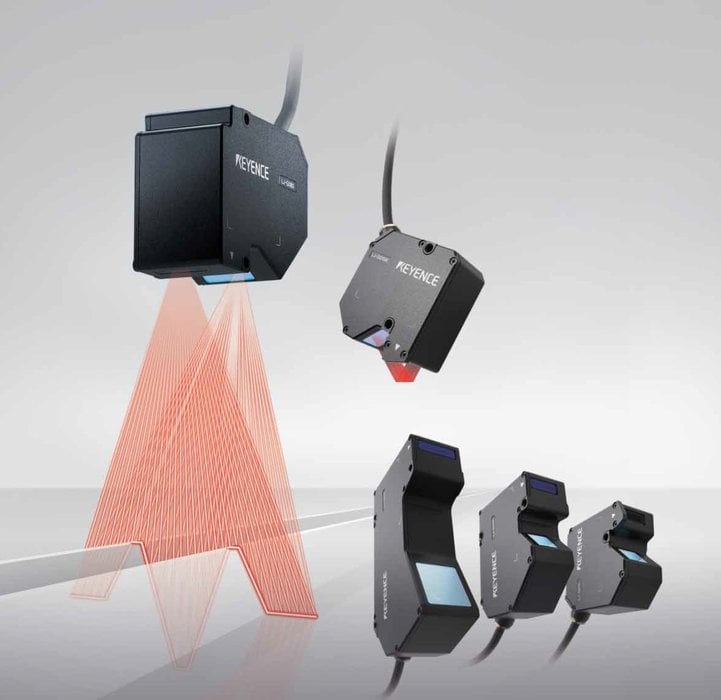
The LJ-G is a 2D laser displacement sensor that can perform on-the-fly measurements on production lines. Consisting of a controller, a monitor and laser heads, it stands out for its ease of use. Its setup menu is designed so that even novice users can easily configure settings and its support software makes setup via a PC simple. Furthermore, data can be exported to a spreadsheet for analysis.
“It was very simple to integrate and measurement is stable without the need of any special action from our side,” adds Mr. Marlier.
Although dashboard skins can be black, white or brown, the LJ-G is not affected by color or lighting conditions thanks to its E3-CMOS image sensor. Developed for industrial vision applications, the sensor has a dynamic range that is 300 times wider than that of conventional sensors. As a result, it can perform measurements on surfaces of any color or reflectivity.
Additionally, the LJ-G also provides a position adjustment function enabling stable measurements even when targets are incorrectly placed or tilted with an angle.
The LJ-G Series offers repeatability of 1 micron and a sampling speed of 3.8 ms.

“Inspections are now twice as fast as before and can be performed in the production area, which has improved our efficiency,” emphasises Mr. Marlier.
“Not only is Keyence’s automated solution a means of ensuring continual quality improvement, it’s also cost-effective. Inspections are faster, non-destructive and require less human involvement. All in all, the LJ-G has paid itself off in less than a year and has improved the accuracy of our measurements,” concludes Mr. Marlier.
Box: Watch the LJ-V7000 demonstration video
Making in-line measurement of parts of any kind or shape a reality...

Skin once placed on the dashboard
Diagram:
Measurement method
Mechanical setup
Inspection window
Sensor
Resulting profile
Laser beam
Thickness to be measured
Dashboard skin
Reference point on the frame


