www.magazine-industry-usa.com
13
'15
Written on Modified on
NN Inc.’s Autocam Group Eliminates Hard Gauging Damage with Non-Contact Measurement
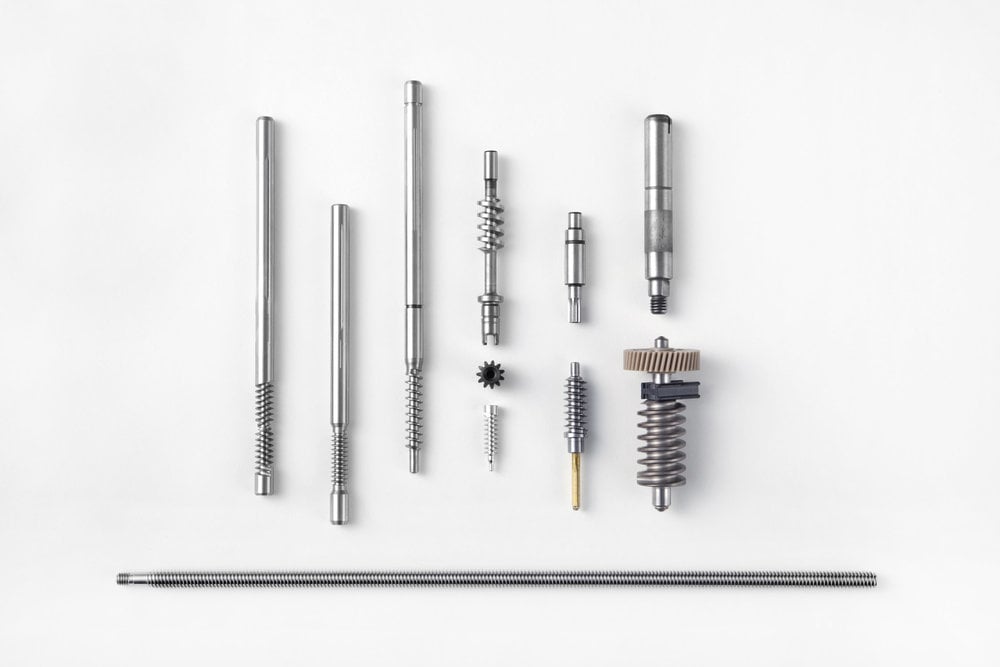
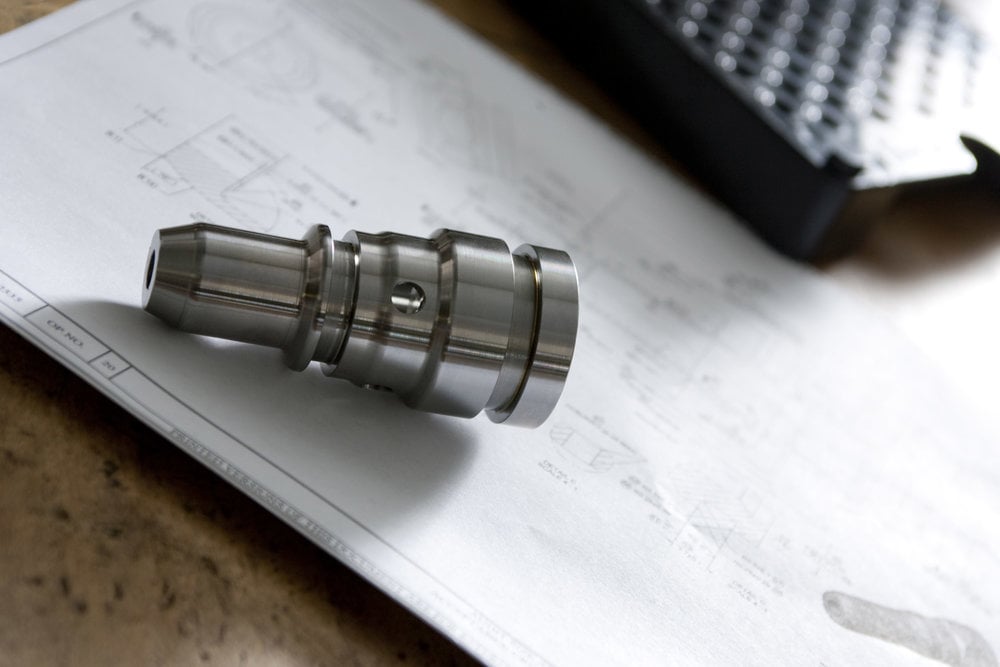
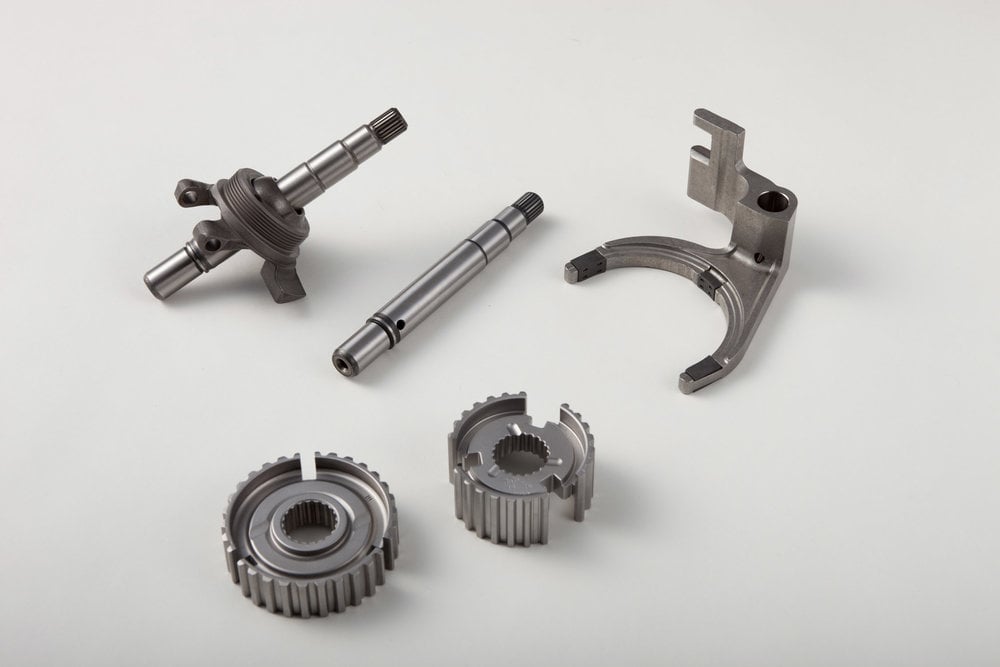
Autocam, a wholly owned group of NN Inc., manufactures precision components for many high tech end markets. One of their specialties is complex metal components for emerging fuel system technologies. Because of the critical role that these parts play in transportation safety, inspection and measurement systems are used throughout the production floor, performing in-process quality inspection.


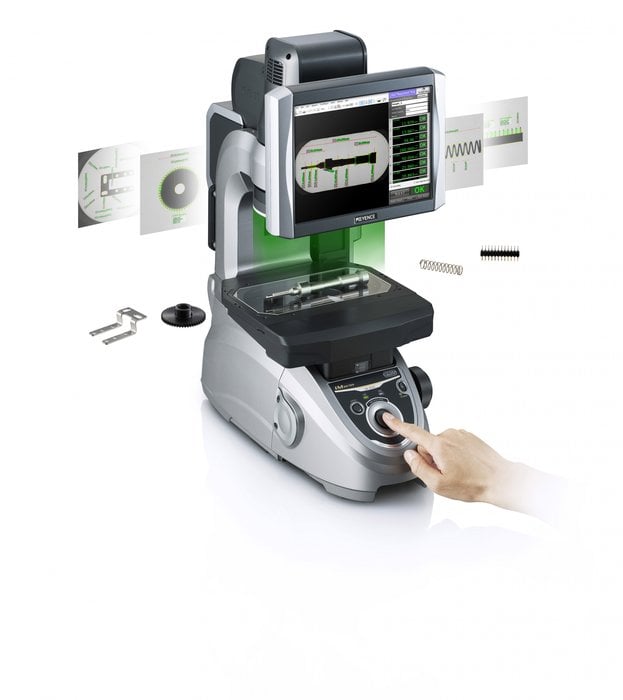
NN’s Autocam Precision Components Group, has a facility in Marshall, Michigan (US) that is using the Instant Measurement system from Keyence for its quality control measurements.
The process to take measurements is as simple as placing a target on the stage and pressing the ‘measure’ button. This operation enables hundreds of features to be measured in seconds, and Autocam has found a significant reduction in the time required for dimension measurement.
The system uses a specially designed lens to provide a wide field of view.
Coupled with an auto-focus capability, the IM Series ensures that part is always in focus regardless of height differences. A telecentric lens maintains a constant image size regardless of height differences of a target, allowing for accurate measurement of targets with uneven surfaces. The system automatically adjusts the lighting, focus, and orientation of the program to match each part on the stage. It recognizes the profile and reflective images of each part, compares it to pre-programmed tolerances, produces a pass or fail for each dimension, and saves the data locally or to a network. With one button press, it prints out a full inspection report; all of which is accomplished in 3 seconds.
Using proven technologies in new ways
The Instant Measurement system was designed on the concept of doing away with archaic measurement practices such as optical comparators that were limited by the technology of their time. At Autocam they were using a time consuming process of 5 different mechanical hard gauges, prior to getting the Keyence IM unit. According to Spencer DePew, Quality/Gauge Technician, Autocam Precision Components Group, “With the Keyence IM we can perform the checks of all 5 gauges, at more than twice the speed, providing more efficient data and allowing for more time to be spent at the process ”
By using proven technologies in new ways, the Instant measurement system provides customers with added value from standardizing difficult measurements to streamlining inspection processes.
The system uses 24 internal lenses, four of which are large four inch telecentric lenses that provide the system with a four inch field of view. Telecentricity is desirable for inspection systems, as it provides constant magnification (object size does not change) over a range of working distances, virtually eliminating perspective angle error. This means that object movement does not affect image magnification, allowing for highly accurate measurements in gauging applications. This level of accuracy and repeatability cannot be obtained with standard lenses. The system is portable, due to its specially designed lens housing, allowing for transport from location to location, all without the need for recalibration or the use of a granite slab making this a machine that can be used in a quality lab or in a shop floor environment.
Ease of use
One of the hallmarks of the IM system is its ease of use. Similar systems often require a dedicated programmer with CMM or OCMM experience. DePew pointed out that the user interface is very easy to understand and use. Once the program is created, operators just have to load the part and press the button, he said, adding that the programming does require some training from Keyence, but he noted that it’s not too difficult, “especially for those with a metrology background.”
The few challenges in using the IM system, according to DePew were false positives due to an imperfect wash process. “We had issues with false rejects due to rust preventative build up from our wash process. We had to alter our process to accommodate.” He said that they also noted that correlation between mechanical hard gauging can sometimes be tricky. “The IM has more flexibility in how you can measure a part feature and so to correlate you have to try and mimic how and where the mechanical hard gauges measure.”
The bottom line in what the IM system has done for Autocam’s quality control measurements is that they have improved quality by reducing damage from hard gauging. DePew concluded that “Operators can get quick feedback on their quality checks, which prevents unnecessary scrap due to waiting on a slower measurement system. The IM has given Autocam the ability to add additional quality checks as needed it a short amount of time without adding additional gauging or cost.”
www.keyence.com/autocam


