www.magazine-industry-usa.com
15
'21
Written on Modified on
From good wood
Fully automatic wood parts inspection.
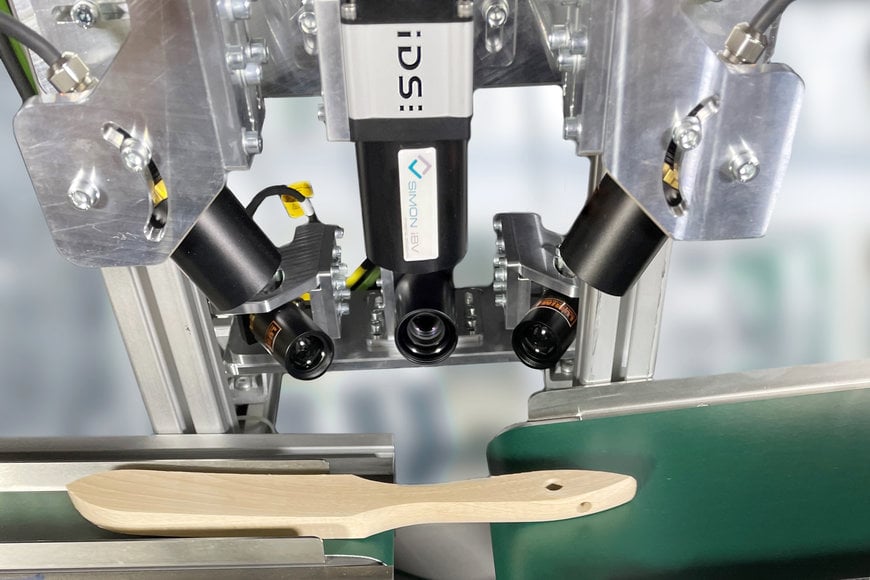
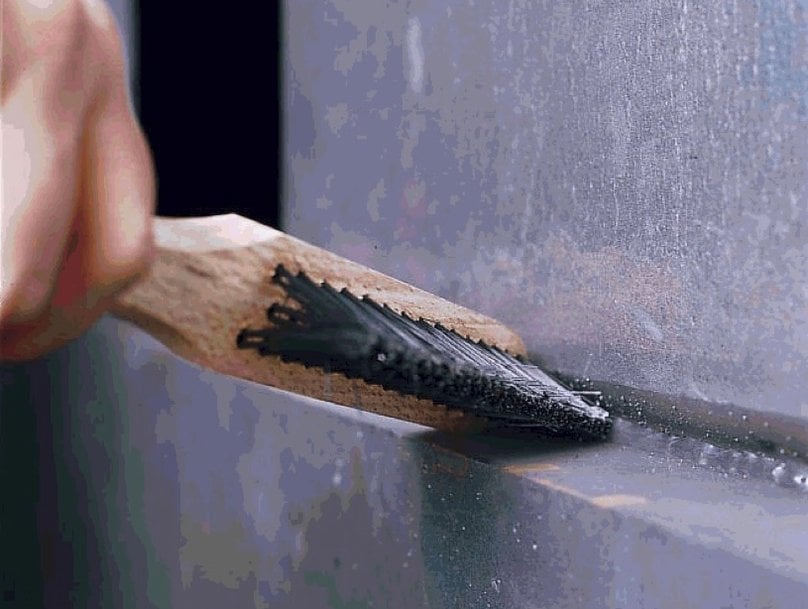
You always need and see them everywhere: in metalworking, on the construction site, in almost every toolbox... the good old hand brush. Whether classic all-purpose brushes or brushes for special applications, the German-based company Lessmann GmbH has virtually all of them in its range. The shape is varied, from straight to ergonomic. But they all have one thing in common: The wooden bodies are made exclusively from untreated red beech. Depending on the model, they also have two hanging holes at the end of the handle. Production is fully automatic and highly rational. In order to ensure its own claim to the excellent quality of the hand brush woods, Lessmann has been relying on classic image processing for many years. But now "The German Brush Company" has implemented an image processing system from the Bavarian system house Simon IBV GmbH that uses robust IDS industrial cameras and SIMAVIS® H image processing software to detect even barely perceptible tolerance deviations particularly reliably.
Application
The brush woods, which are milled fully automatically at a production rate of 1500 pieces per hour, are removed from the milling machine by a timed circulating chain with quiver-shaped receptacles and pushed onto a longitudinal conveyor belt. A multi-camera system is installed on the conveyor belt, which checks the 2 to 6-row hand-brushed timbers for defects such as cracks, splintering and size. "The testing task is particularly demanding because the untreated copper beech varies greatly in its color and grain. For example, cracks cannot always be clearly distinguished from dark grains," explains Daniel Simon, authorized signatory at SIMON IBV. But the choice of wood type has good reasons: On the one hand, red beech is recommended for the production of hand brushes due to its excellent properties, such as a special degree of hardness. On the other hand, sustainability plays a major role. Lessmann can source the brush wood from the surrounding area and thus both support regional forestry and avoid transport routes.
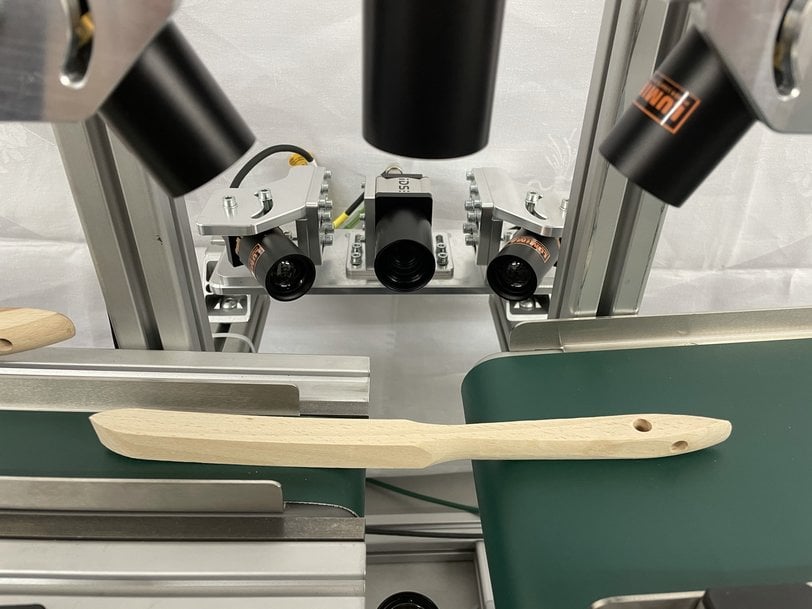
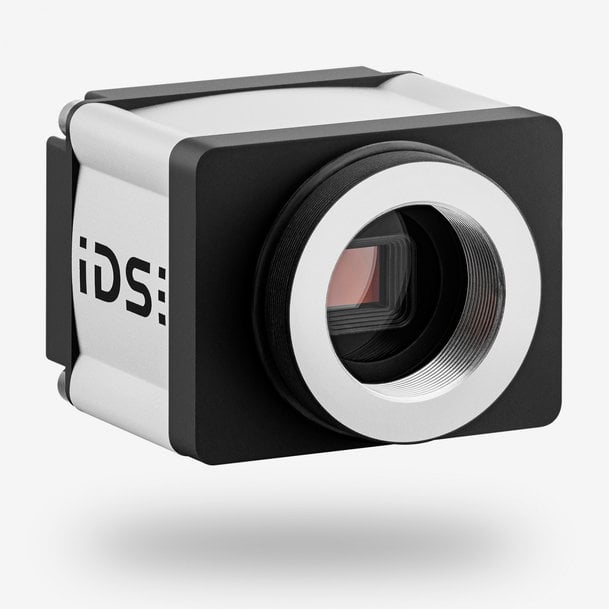
While the timbers pass through production on a conveyor belt, a total of four IDS cameras of the type GigE uEye FA are triggered by a so-called incremental encoder. This sensor reacts to the belt position so that any change in position of the brush body is detected by the belt movement. The image capture is offset by 2.5 mm per camera, so each camera takes a new image every 10 mm. The captured images are discarded until the first camera detects that there is a wooden body in the field of view. From this point on, the other three cameras are activated and up to 35 pictures are taken per camera. The number of images is limited by camera 1, as it outputs as soon as no more brush body is visible.
The images captured by the IDS cameras are pre-processed and composited simultaneously with the image capture. Thus, during the time of evaluation, the image acquisition as well as the pre-processing of the next brush can already take place. The individual images of the same situation from the four offset cameras are cropped, scaled and merged into one overall image by the software. The brush bodies are evaluated with differently weighted criteria for each camera. The weighting is done via the test sequence of the evaluation criteria. In a first step, rough geometric factors such as length, width, height, symmetry and shape deviations are evaluated.

Illustration of shape testing: Are the outer dimensions of the brush body within the tolerance? Is the brush body asymmetrical or deformed? Do the holes have the correct diameter and position?
The holes in the brush body are checked for position and overlap, followed by step-by-step surface inspection.


Figure surface inspection: Are the dark or colored areas permissible? Are there any rough spots or cracks?
"First, dark areas are segmented and evaluated according to setpoint specifications," explains Matthias Eimer, system integrator at Simon IBV. "After that, deviating discolorations are searched for, singled out and evaluated according to setpoint specifications." Even the tolerances for rough spots can be set in the target values and are subsequently evaluated. Only in the last step of the frame-by-frame evaluation do the cameras search for cracks. Finally, the overall result is formed and merged from the individual evaluations of the views. The system checks a total of 32 setpoints, 27 of which alone for compliance with precisely defined tolerance specifications.
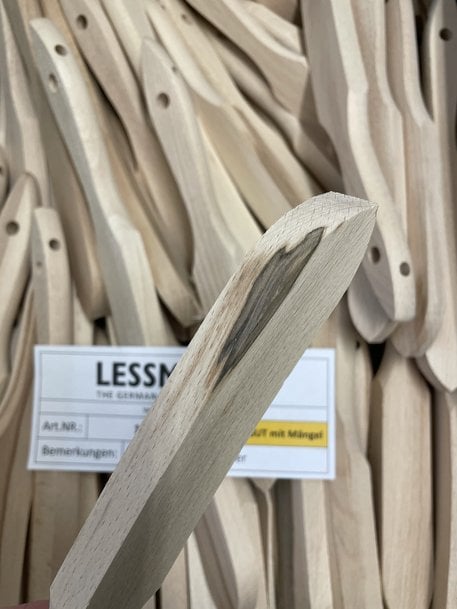
Figure: Dark spots are segmented and evaluated according to setpoint specifications
The uEye cameras used from the FA family are particularly robust and therefore predestined for use in such a harsh environment as the brush factory. Camera housings, lens tubes and the screwable connectors meet the requirements of protection class IP65/67. They are also optimally suited for the multi-camera operation required here due to the integrated image memory, as this decouples the image capture from the image transmission and enables the buffering of images before transmission in this application. The GV-5280FA industrial cameras with GigE Vision firmware are equipped with Sony's IMX264 2/3" global shutter CMOS sensor, which also provides excellent image quality, high light sensitivity and an exceptionally high dynamic range. The four CMOS cameras used deliver almost noise-free, very high-contrast 5 MP images. With exactly these features, the camera model recommended itself for use in demanding brush testing.
"The camera has the right resolution, the Sony sensor is very good and the protection class is met," says Daniel Simon, summing up the selection criteria.
IDS cameras are easy to integrate, true to the company motto "It's so easy", as Daniel Simon knows from his many years of cooperation with IDS. The heart of the solution is the solution provider's specially developed software.
Software
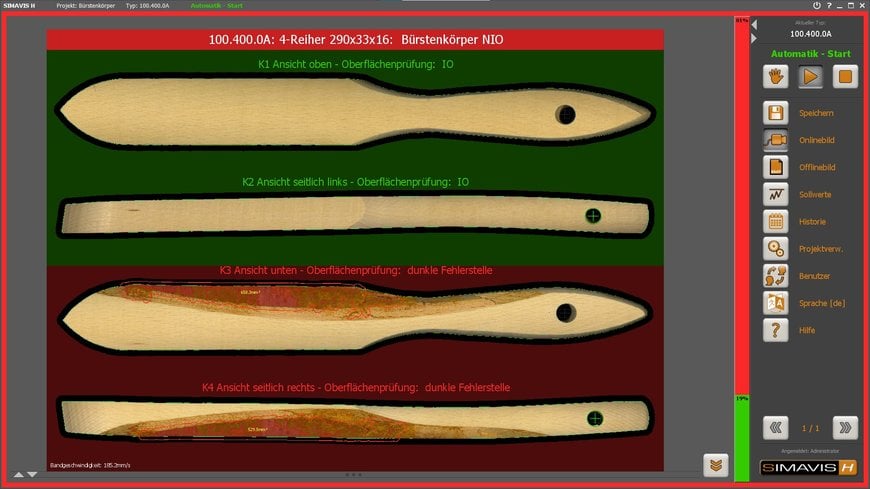
Figure : Results output
SIMAVIS® H is an image processing software with which complete solutions can be quickly assembled. This machine vision software is based on ProVision® (former SIEMENS development) and HALCON, a comprehensive standard software for industrial image processing with integrated development environment. This allows individual adaptation to the requirements of testing the wooden brush bodies: "The check for defects was programmed by us individually by hand, we have a lot of experience in the field of wooden surfaces. The tolerance thresholds can be set by the many setpoints depending on the feature," Daniel Simon emphasizes. SIMAVIS® H offers an intuitive user interface for the operating personnel of the finished system, including manual and automatic operation with type management, setpoint menu, authorization concept, language switching, statistics module and much more.
Outlook
"Through the control, automatic further processing is possible. With the new imaging solution, wood defects can now be detected more reliably. The proportion of defective wood bodies classified as good has fallen from around 2 per cent to less than 1 per cent,” explains Managing Director Jürgen Lessmann. The subsequent filling of the brush bodies with wire is already fully automatic, and the packaging of the finished hand brushes can be carried out in future with the help of robotics. Due to the improved control of the wooden bodies, the previously necessary manual quality control of the finished hand brush can be omitted. Before packing, which is carried out by a SCARA robot, only a brief visual inspection is necessary. This relieves the machine personnel and increases productivity.
In this exemplary application, the use of artificial intelligence also offers further potential in the future. "AI will probably further improve the inspection result, which will allow further automation of production, as manual inspection operations can be eliminated," Jürgen Lessmann predicts. And not only for brushes made of good wood: the multi-camera testing system can be adapted for countless products and materials.
Client

Lessmann GmbH is one of the leading producers of surface finishing tools in Europe. At its production sites in Oettingen in Bavaria and Solingen in North Rhine-Westphalia, Lessmann has been manufacturing surface tools in the form of technical brushes "Made in Germany" since 1948. State-of-the-art production facilities, consistent quality controls and permanent tests ensure the high quality of the brushes.

SIMON IBV GmbH is a manufacturer of solutions in the field of industrial image processing. Furthermore, the company is the developer of its own standard software for image evaluation as well as the manufacturer of hardware components specially designed for optical inspection systems.

