www.magazine-industry-usa.com
06
'12
Written on Modified on
Advanced control with vision system accessible to all
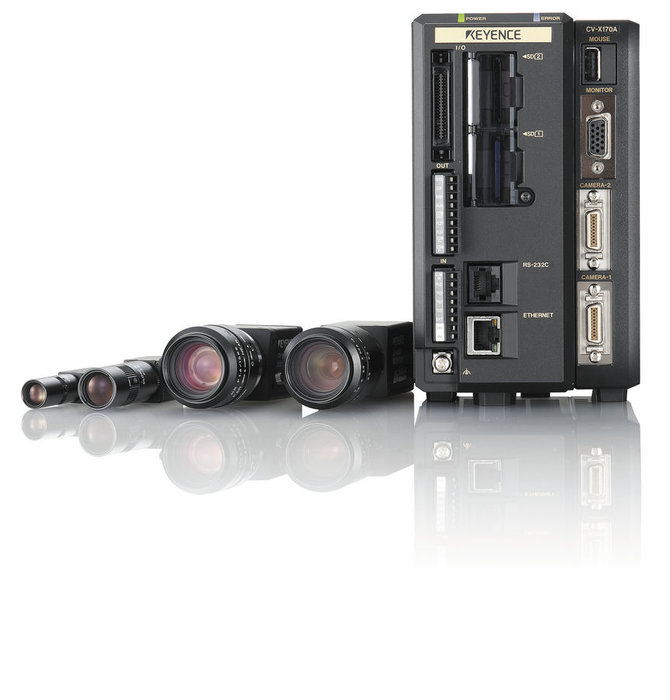
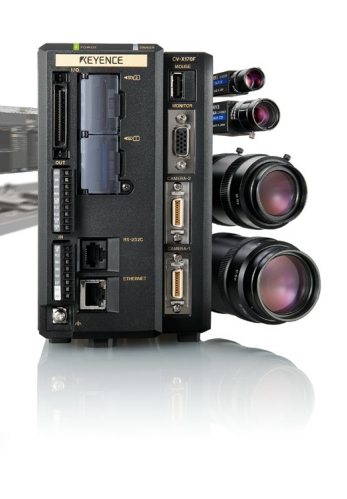
There is something new in vision systems! The new CV-X100 Series allows an end-user to easily implement complex inspection functions without the assistance of an expert. Automated measurements, auto-teaching and lens distortion or angled camera effects removal are just a few of the innovative features of the CV-X Series.
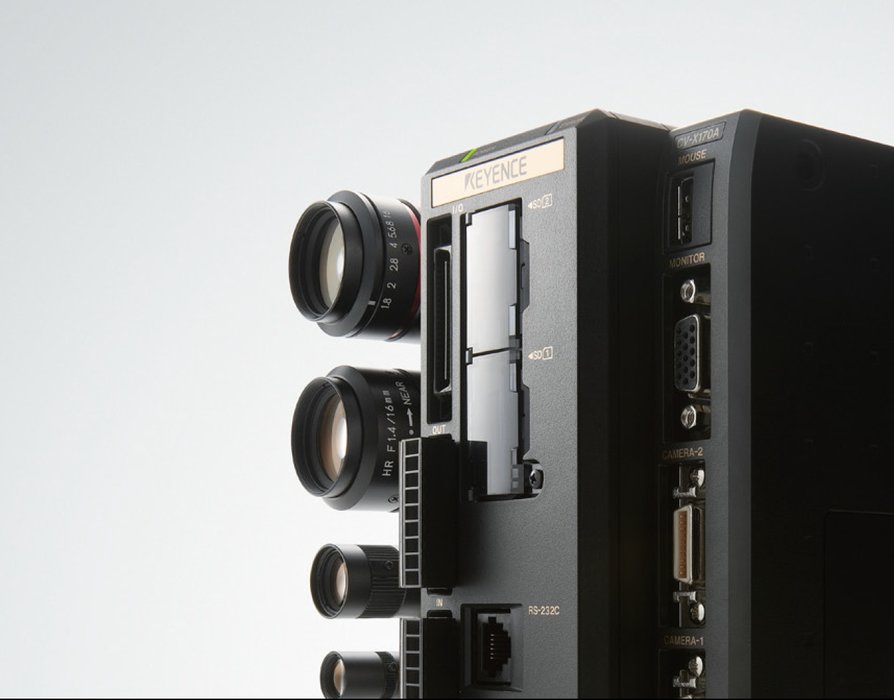
The CV-X Series integrates a new module of automatic measurements. Multiple inspections can be completed on a part in continuous flow by automatically applying a pixel/millimetres scaling. Set up is particularly simple: you just have to click on the points you want to measure to start the automatic measurements.
The parts are identified by pattern recognition, allowing for stable and multiple inspections whatever their position. CV-X offers a sub-pixel Inspection accuracy, and processing speed is far superior to industry standards (even on 5 million pixel images) thanks to specific DSP and to the new shape detection function (ShapeTrax2). A wide range of other tools supplement the functions library. With the CV-X Series it is also possible to perform visual (size, density and shape) and profile inspections and read bar and datamatrix codes.

The CV-X Series innovates with an all new auto-teach function. It consists of inspecting about thirty non-defective parts so that the system “learns” by itself how to determine the acceptable manufacturing tolerances. Inspection includes shape, colour and pattern. Complex inspection programming, which generally required an expert, is considerably simplified. It is a smart tool which recognizes the similarities between the non-defective parts rather than the defective parts. This last method is a traditional factor of unstable inspection.
The CV-X100 vision system is equipped with tools making image capturing reliable. Among them, there is tool ensuring image capturing conditions (camera position, lighting, precision) are not altered after the camera is set up. In the event of variations (following an intervention on the camera, for example), an assistant will guide you in a few clicks to find your initial image capturing conditions.

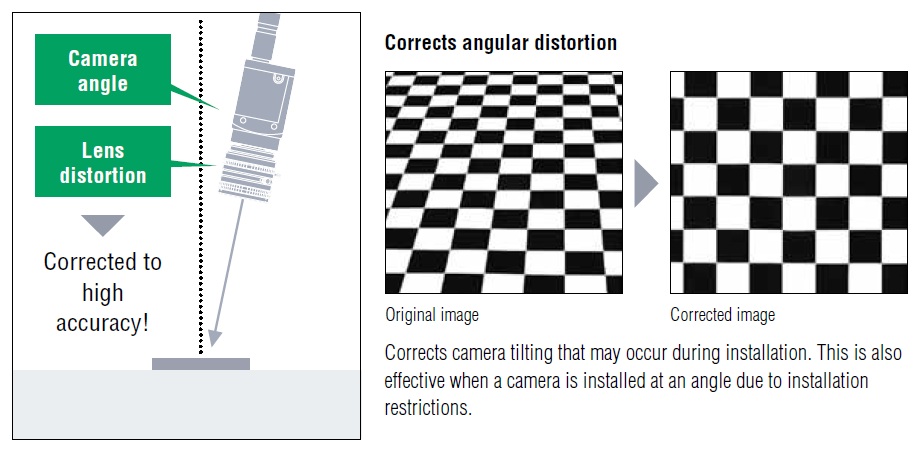
Moreover, the CV-X Series utilizes digital correction to remove the effects of changes in the capture conditions due to camera installation and/or lens distortions. Eventually, the analysis is made as if the camera was right above the measuring point. This function is widely used for robot applications, for example.
In addition, the system offers a complete range of numerical filters to be applied independently on each tool. You will find traditional filters like binarisation or averaging as well as other much more advanced filters, such as shading correction to even out any large random shadows or glare on a target surface or the HDR to create a clear image on a part presenting a strong uneven shading.
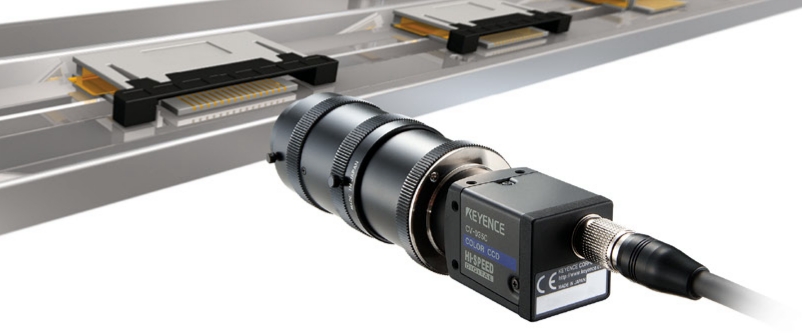
Other functions will considerably save your time. For example, it is now possible to automatically generate a user manual with a simple click with screen shots to illustrate the inspections applied. Also, generating user interfaces was largely simplified. You just have to select the screen corresponding to your choice among preset models. In a few minutes, you can create an interface which combines several views and displays the key values. Previously, many hours were needed to perform all these functions. Lastly, a specific tool for connector inspection was integrated.
